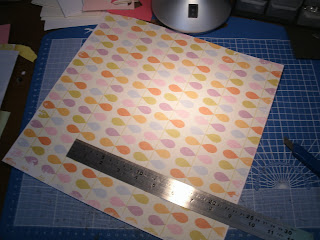
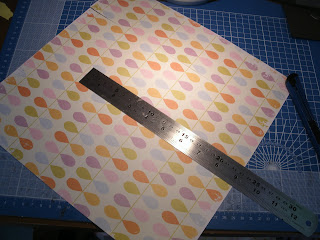
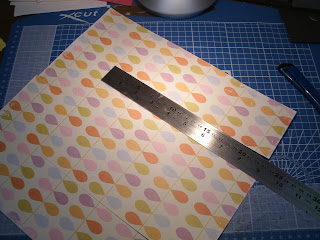
I used one sheet of 12"x12" paper, it is best to use a double sided sheet. This paper is from We R Memory Keepers scored every 3", then I turned the paper and scored again every 3", making squares.
Then cut along the score lines, starting with the first score line cut from 3" down, turn the paper the other side and cut from 3" down again, and finally turn back to the first side and cut the last score line, again from 3" down. This will make a 'm' shape.
Begin concertina folding the squares to make a little book. TIP: fold with the side you want to be the pages on the inside.
Next you can cut corners from some of the squares to make pockets, and also cut 3 sides of a square to make a flap-
The next thing is to decorate the pages. I used bits of ribbons, buttons and pearls. I also used stamps to add messages throughout the book.
To make the covers, take 2 3 1/4" Squares of chipboard and cover this with coordinating papers.
To put the book together, take a length of ribbon and line it up along the middle of the covers, leave a gap between the covers of about the same thickness as the pages (I accidently deleted the picture of this-sorry!) and enough ribbon on either side to tie it all closed , then stick the pages to the front and the back covers.
Finally decorate the front cover, I used some American Crafts Ribbon and Papermania stickers
Here are a few pages-I just need to add some journalling-Thank you stopping by!!


oh my gosh.....this is sooooo cute! And thank you for the step by step directions! Amazing job!
ReplyDeleteAmazing work! And I love your tutorial! Everyone has such Wonderful/Different ideas!!!
ReplyDeleteWhat a cute album, Evanna! You did a great job showing all the steps.
ReplyDeleteGotta give this one a try - thanks so much for showing how to create so well!!
ReplyDeleteFabulous mini! Thanks for the instructions!
ReplyDeleteGreat tutorial! Thanks! This is just super cute and love the paper you used. Very pretty and fun!
ReplyDeleteSuper album and I love that you have put the photos in. Colours are really summery.
ReplyDeleteHugs Shirley x x
I just love all the little details you've added. Nothing says summer like a picnic!
ReplyDeleteFabulous tutorial. I can't wait to try one myself. Great job
ReplyDeleteHugs
Brenda